


First thing first, before you start building that amazing project or before you write your very first java Hello World project, you need to setup and configure your Java development environment.
Follow the following steps to install and setup your Java Web Development Environment :
1. Install and configure Java (JDK)
- You can verify if JDK is already installed by running
javac –versionfrom the terminal. - If JDK is not installed, download and install it from http://www.oracle.com (make sure that you have downloaded JDK not JRE)
- Once downloaded, run the installar and follow instructions on the screen.
- Set environment variable: JAVA_HOME=
<JAVA_INSTALLATION_PATH>Setting the environment variable requires administrator privilege. - Add
%JAVA_HOME%/binto the PATH. - Verify your installation(run
javac -version,echo %JAVA_HOME%(echo $JAVA_HOMEon Mac),echo %PATH%(echo $PATHon Mac) from the command line and run these commands separately.)
2. Download and setup Apache Maven build tool
- Download Maven from http://maven.apache.org/
- Extract the downloaded zip file
- Set environment variable, M2_HOME=
<PATH_TO_MAVEN_HOME> - Add %M2_HOME%/bin to PATH
- Verify your installation(run
mvn -version,echo %M2_HOME%(echo $M2_HOMEon Mac),echo %PATH%(echo $PATHon Mac) from the command line and run these commands separately and check if your changes are applied. )
3. Download and Setup eclipse IDE
- Download and setup eclipse IDE
- Download eclipse from http://www.eclipse.org/. Make sure you downloaded eclipse for java EE developers.
- Extract the downloaded file
- Run
eclipseto start the IDE by double clickingeclipse.exeunder%ECLIPSE_DIR% - Configure eclipse to use your JDK.
- Select
Window->Preferences->Java->Installed JREs - Select the current installed JRE:
- Click the
Editbutton - Click
Browseand navigate to the home directory of your JAVA installation (e.g. C:\Program Files\Java\jdk1.8.0_111) - Click
OKto save and thenOKto Finish - Configure eclipse to use your Maven. Eclipse usually uses its own maven plugin, if you want to use the maven you installed. Do the following steps:
- Select
Window->Preferences->Maven->Installations–>Add - Navigate to the home directory of your Maven installation and Click
Finishto finish.
4. Download and setup apache tomcat application server
- Download tomcat server from http://tomcat.apache.org/
- Extract the downloaded zip file
Note: Make sure that there are no spaces in the complete tomcat home path, this could cause some error later on.
GOOD: C:\tomcat
BAD: C:\program files\tomcat - Set environment variable, CATALINA_HOME=PATH_TO_CATALINA(the directory where you extracted tomcat)
- Start tomcat to verify the installation by executing %CATALINA_HOME%/bin/startup.bat
- Allow a couple of minutes for tomcat to start up
Open http://localhost:8080 to verify tomcat is running
You can shutdown tomcat using %CATALINAHOME%/bin/shutdown.bat5. Finally, lets test everything by Creating a
Hello Worldweb app.Create a very simple
Hello Worldweb application to test our installation. Execute the below maven command from the command line.(It will prompt you to enter information about the project you are creating, Group Id, Artifact Id, version…etc. You can just specify Group Id and Artifact Id, maven will take default value for the rest…)
Note that you need to enter this whole string as a single command
mvn archetype:generate -DarchetypeGroupId=org.apache.maven.archetypes -DarchetypeArtifactId=maven-archetype-webapp -DarchetypeVersion=1.4
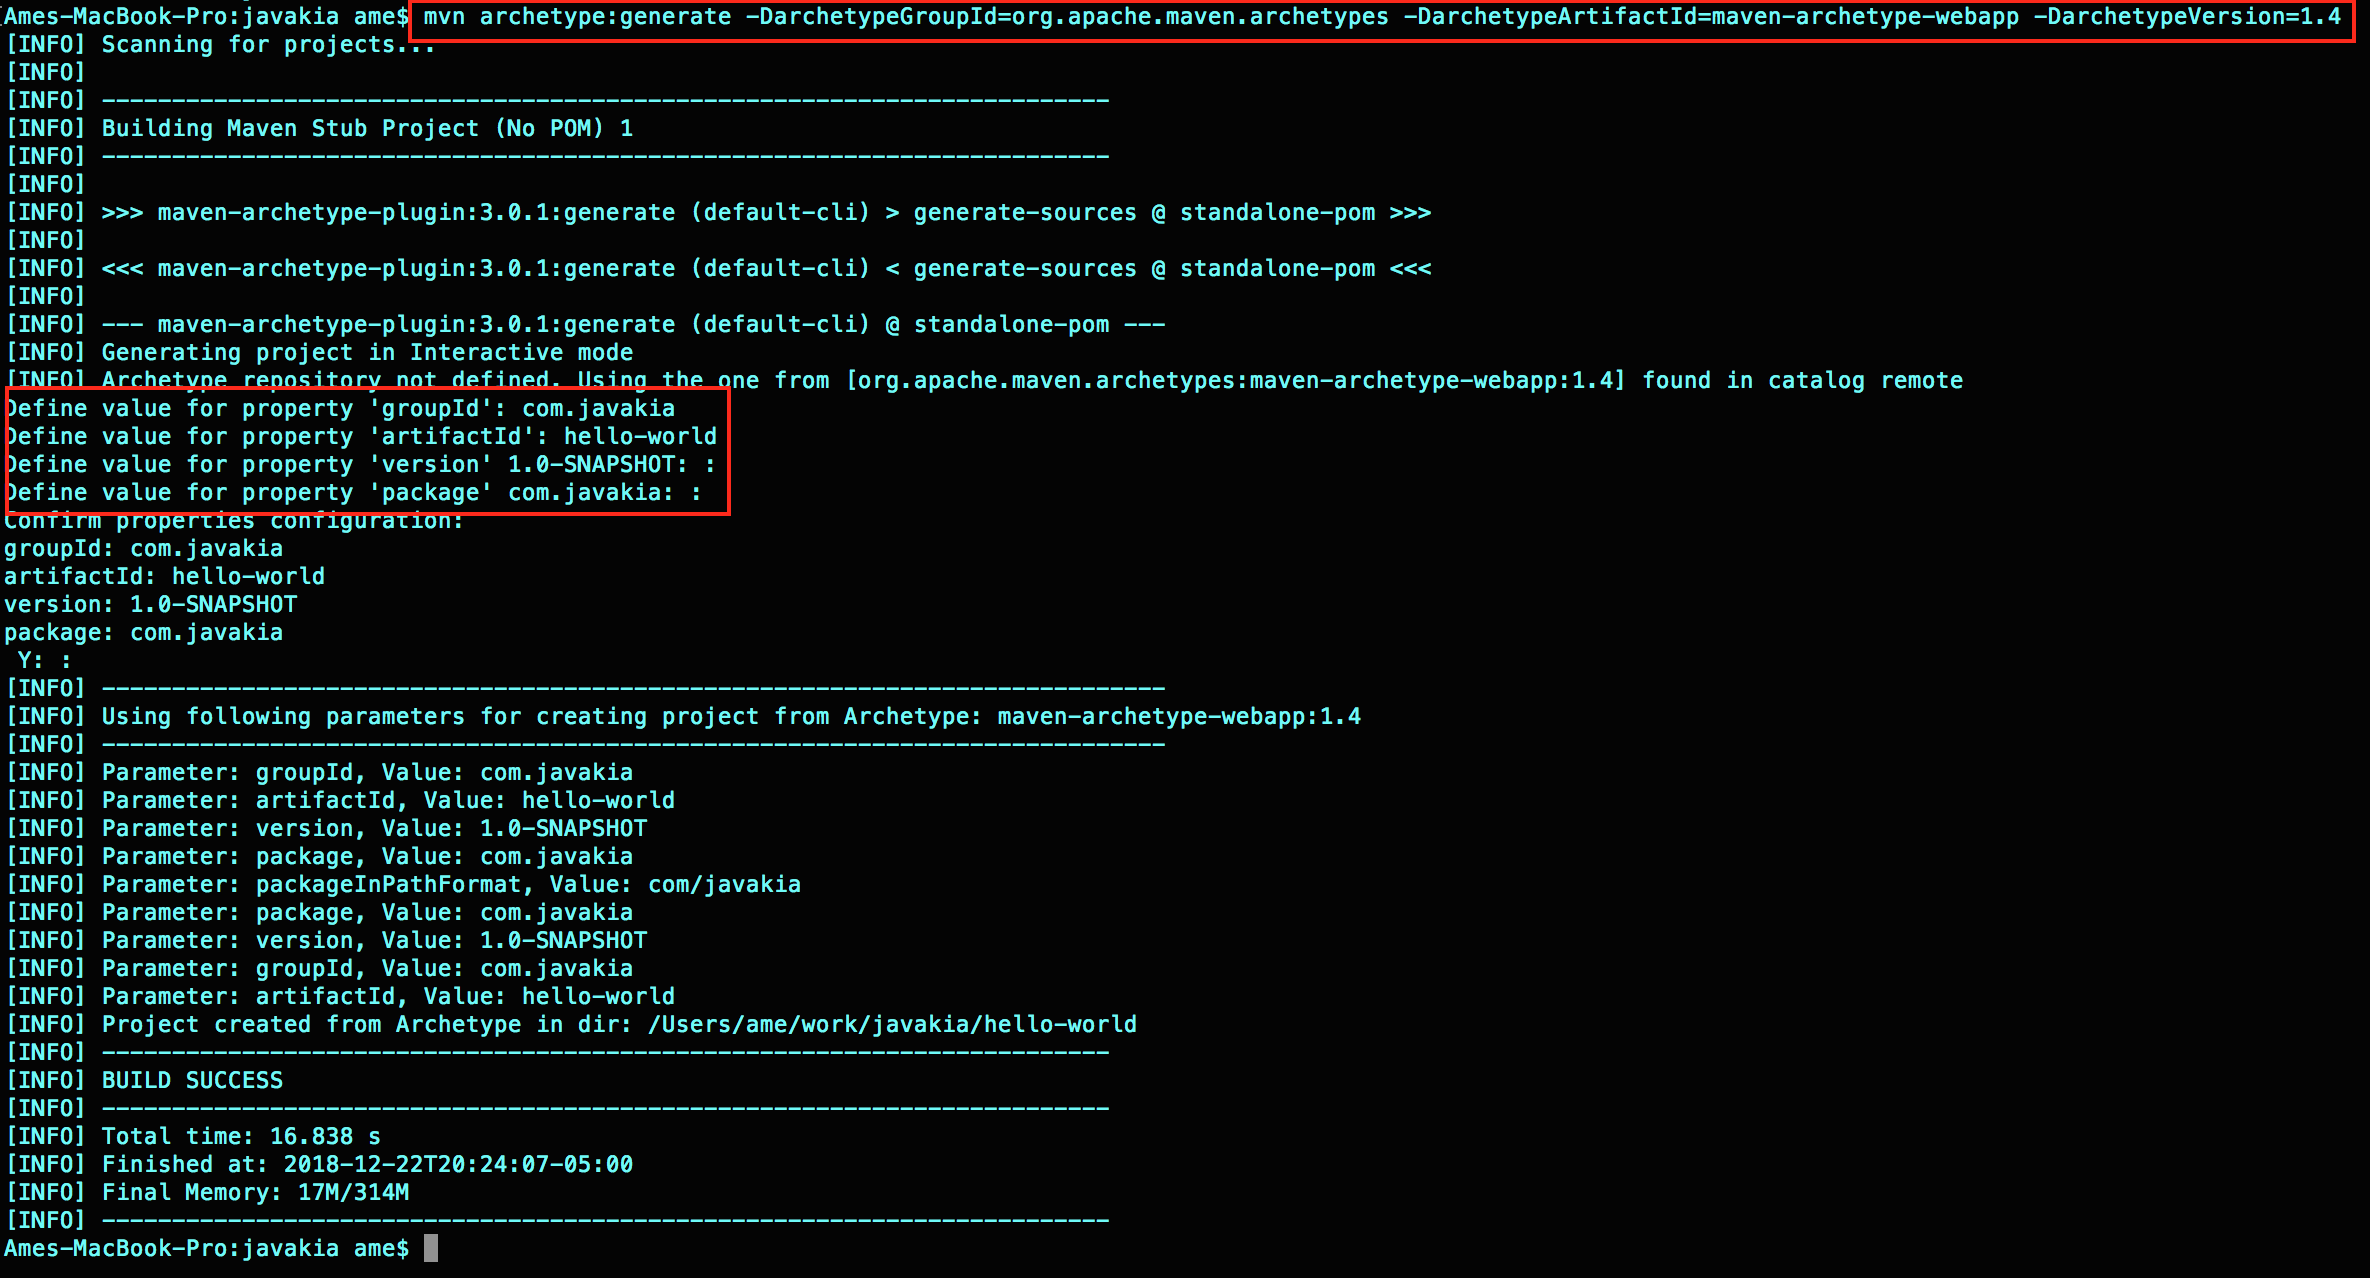 By executing the above command maven has created a project called
 hello-world (the project name is the artifact Id you have defined) with the following directory structure.
▾ <hello-world>/
    ▾ src/
        ▾ main/
            webapp
             |-- WEB-INF
             |   `-- web.xml
             `-- index.jsp
    ▾ pom.xml
Now, build the project. Run these command to do so.
cd hello-world
mvn clean install
The maven
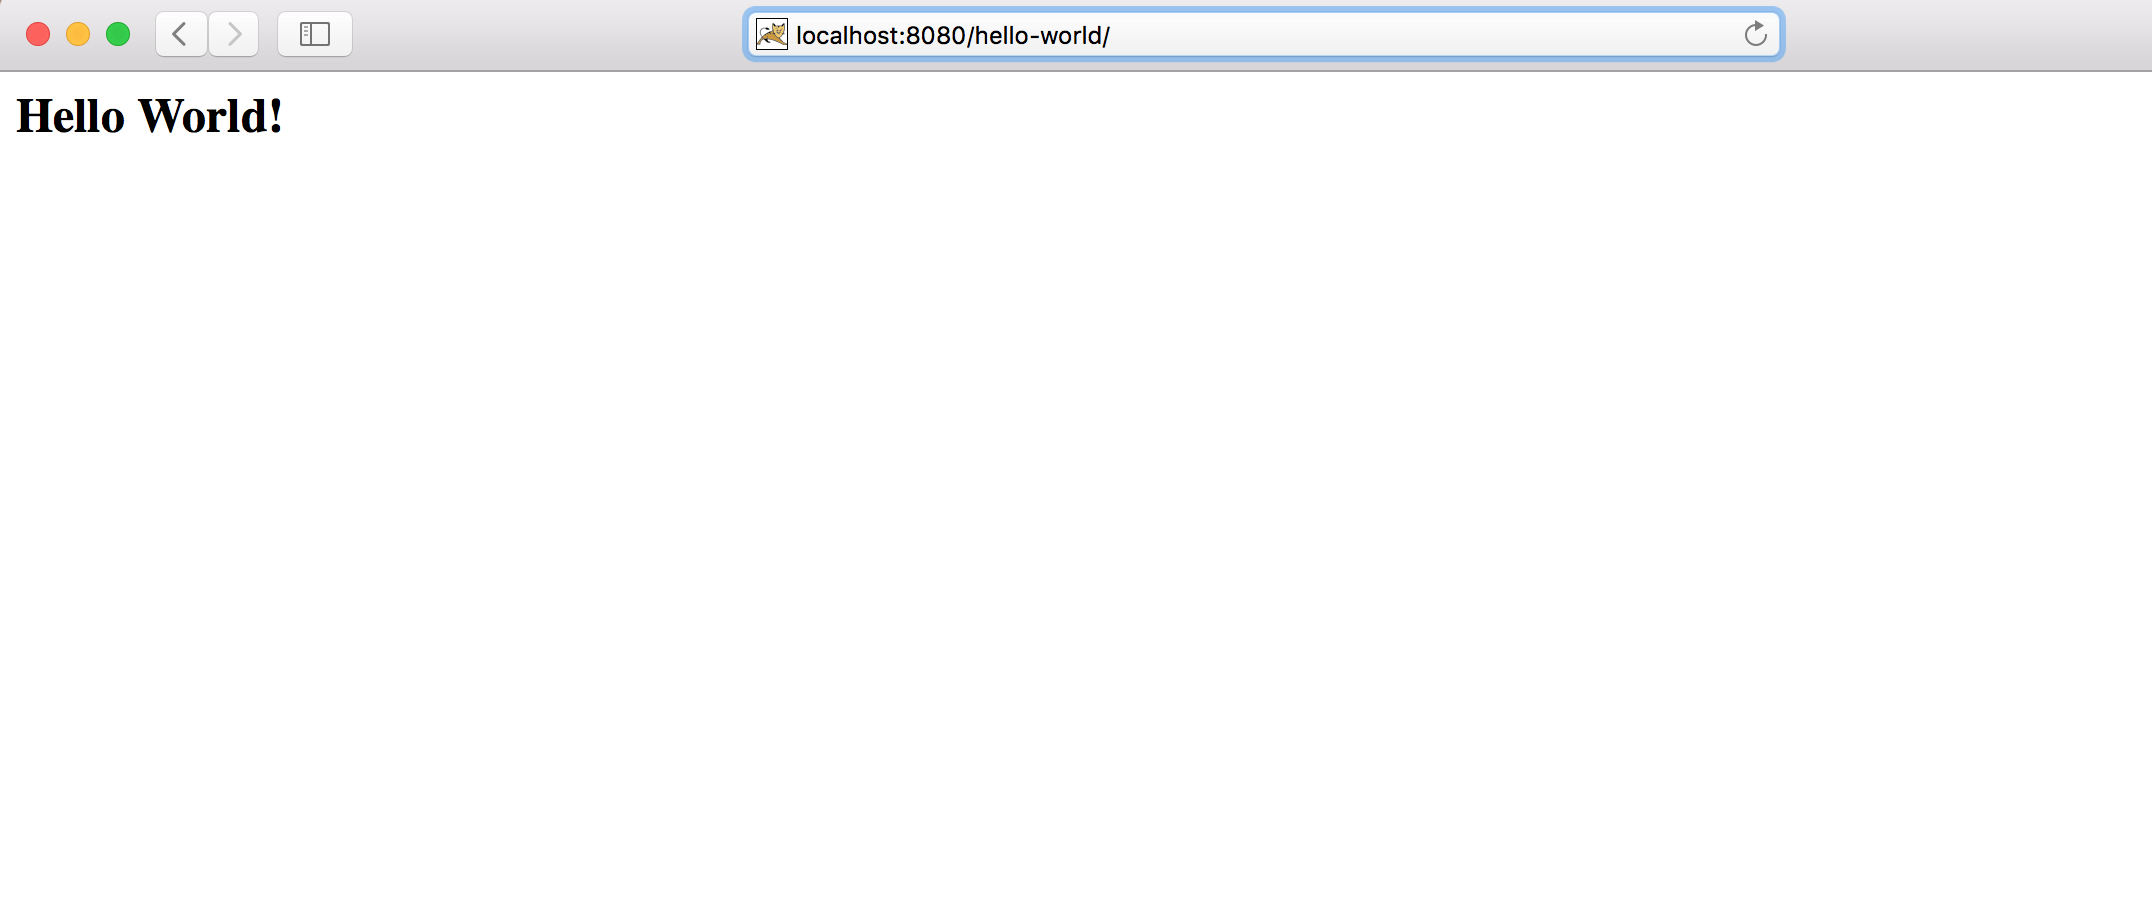
installcommand build the project and created a deployablewarfile inside thetargetdirectory.Deploy the hello-world.war to tomcat application server(Enter your Tomcat Home Path)
cp target/hello-world.war your_tomcat_home/webappsAccess your hello-world application from the web browser http://localhost:8080/hello-world
6. Summary
In this tutorial, we have successfully setup our Java Web Development Environment. We have installed JDK, Apache Maven, Eclipse IDE and Apache Tomcat Application Server. We have created a simple hello-world web application using maven-archetype-webapp to test our enviroment setup. And we have built our project using maven clean install command and deployed our hello-world.war to Tomcat Application Server.
I hope this tutorial was helpful for you. Have questions or suggestions? Feel free to write a comment below. Thank you for reading!
Share this post
Twitter
Google+
Facebook
Reddit
LinkedIn
StumbleUpon
Pinterest
Email